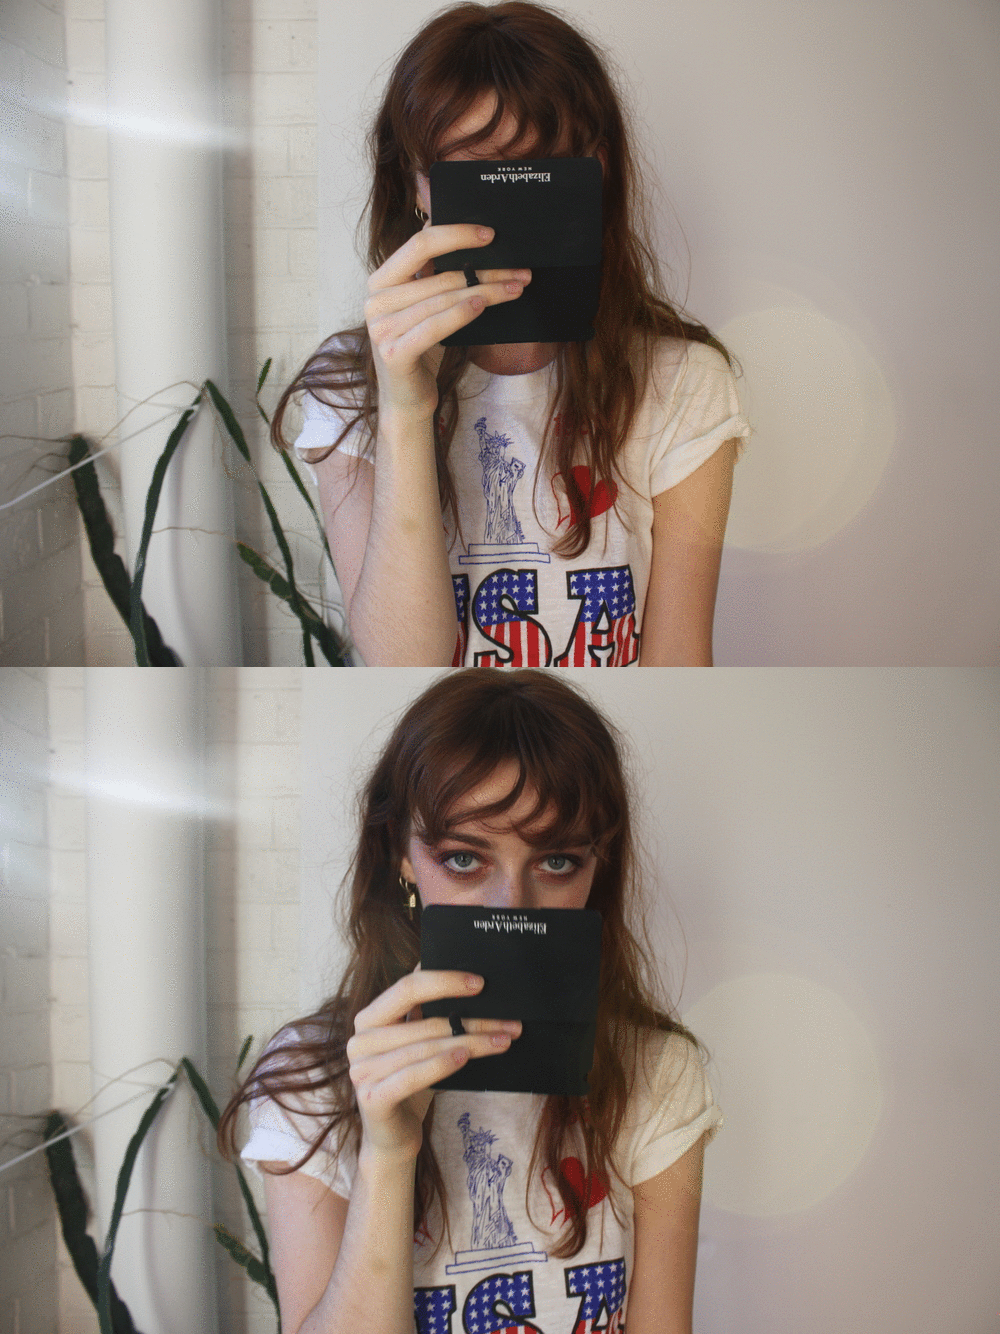
Images should be moving, take a moment (and a breath) while the page loads.
A smokey eye is daunting AF, contouring a close second. In the age of “instagram makeup” dominating the explore page, and women drawing eyeliner so sharp it could cut your bangs at the same time, me proposing that a smokey eye just might be something you can manage without 348 youtube tutorials and 7 different blending brushes is a pretty hefty claim. But this is TOMBOY Beauty, a safe space where messy makeup is appreciated; better yet-celebrated…
So, you own zero tools? Possess limited makeup skills? And simply don’t have time and/or can’t be bothered finding the time to sit yourself down and spend 40 minutes creating a ‘snatched’ brow or a cut crease? Me either. An eyeshadow trio, clean fingers, and a lot of courage is all you need to follow my guide to the smokey eye, for the girl who has no idea what she’s doing.
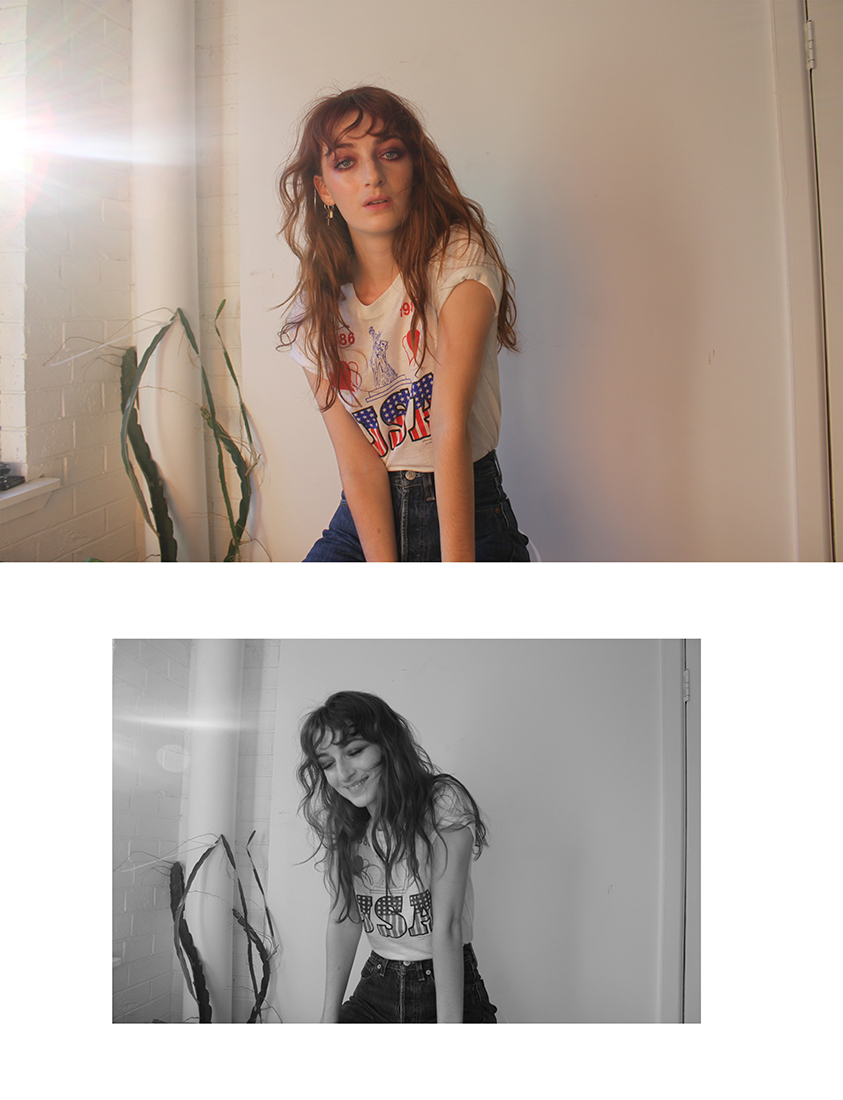
The result? Totally effortless, but with a little something, something…
THE BASE: You can do whatever you want here – I recommend using a light/medium coverage foundation so that your skin shows through. The motto: add coverage only where necessary. Dab a little Eight Hour Cream on the cheekbones for glow.
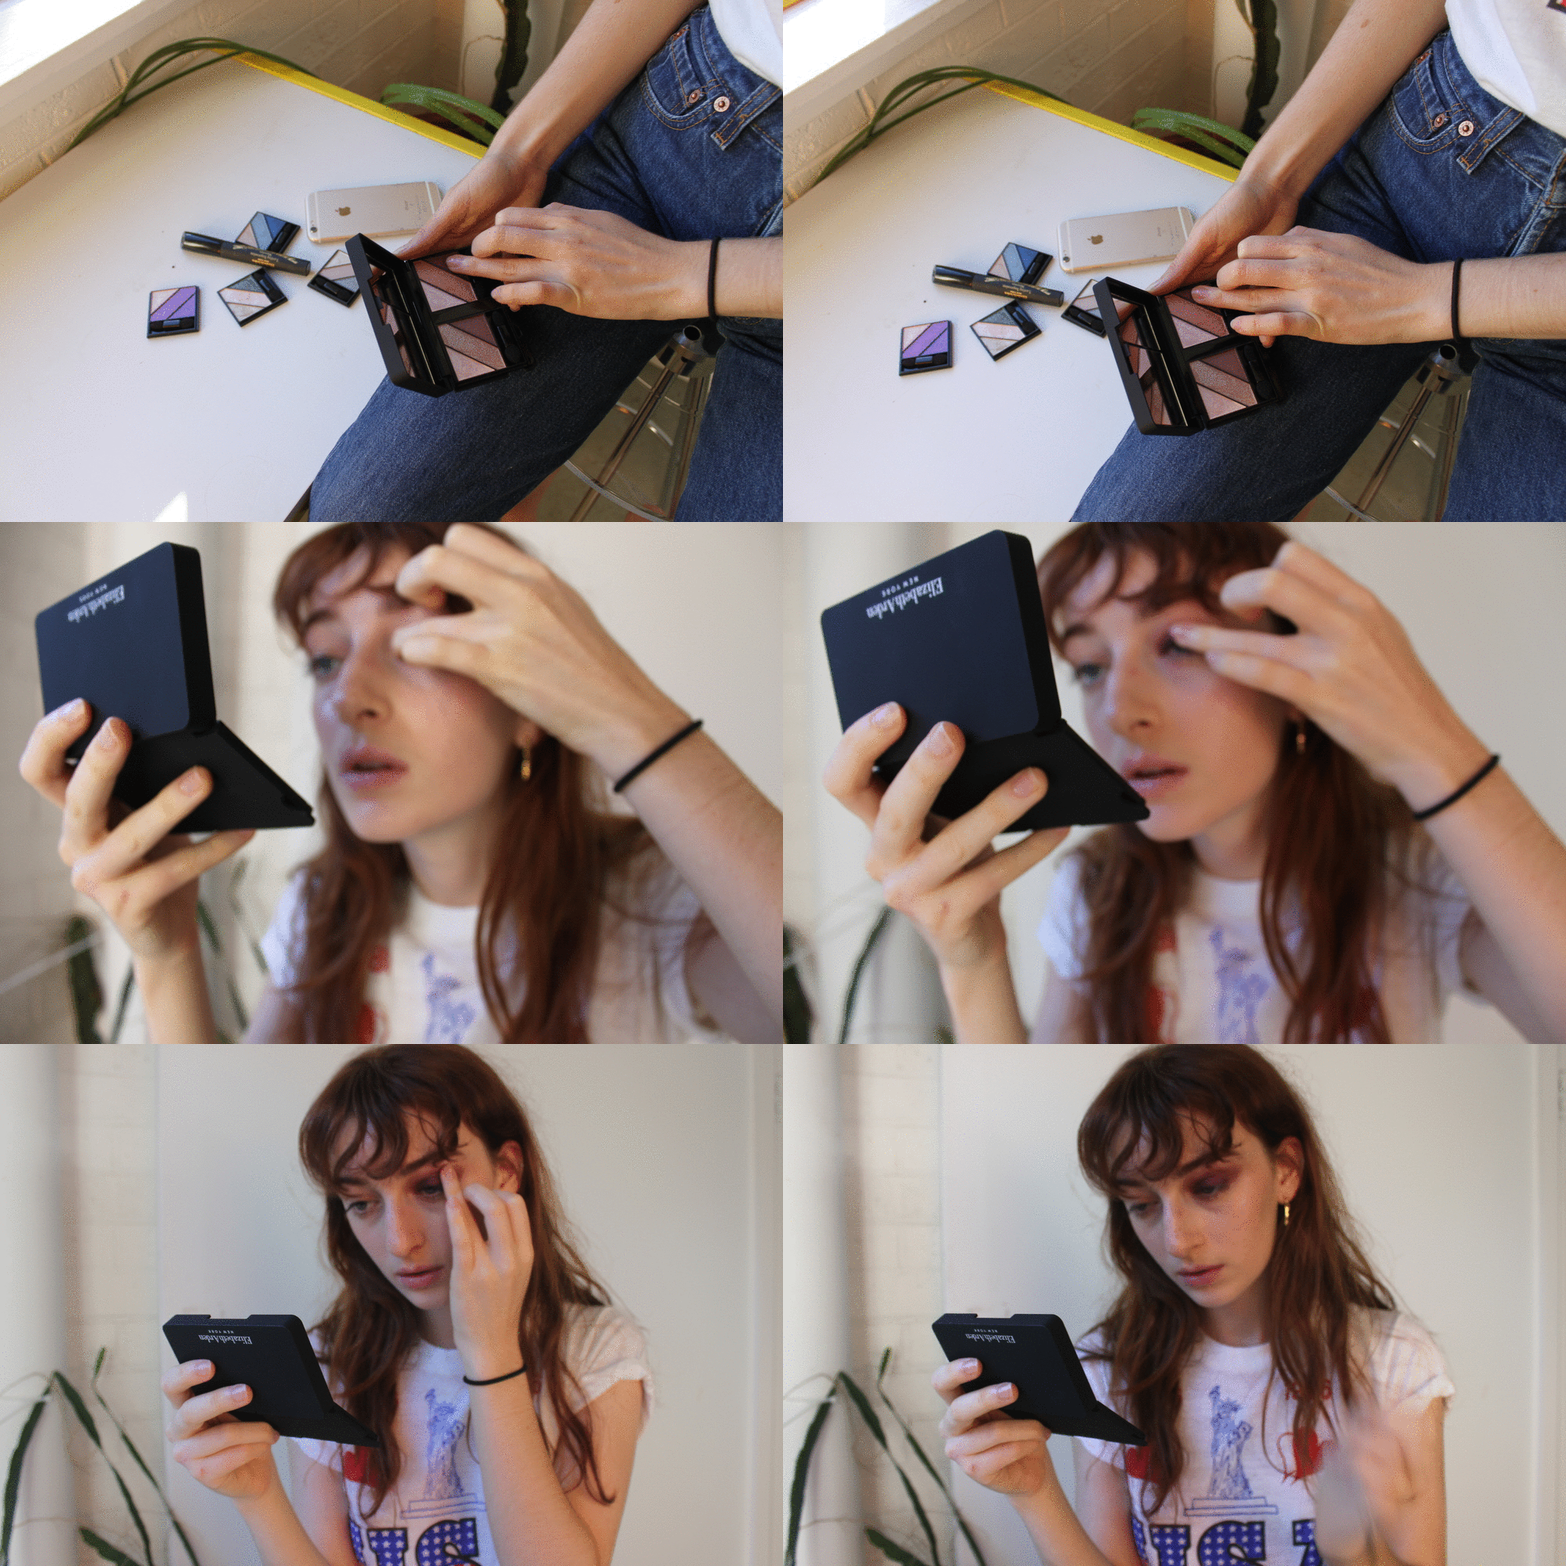
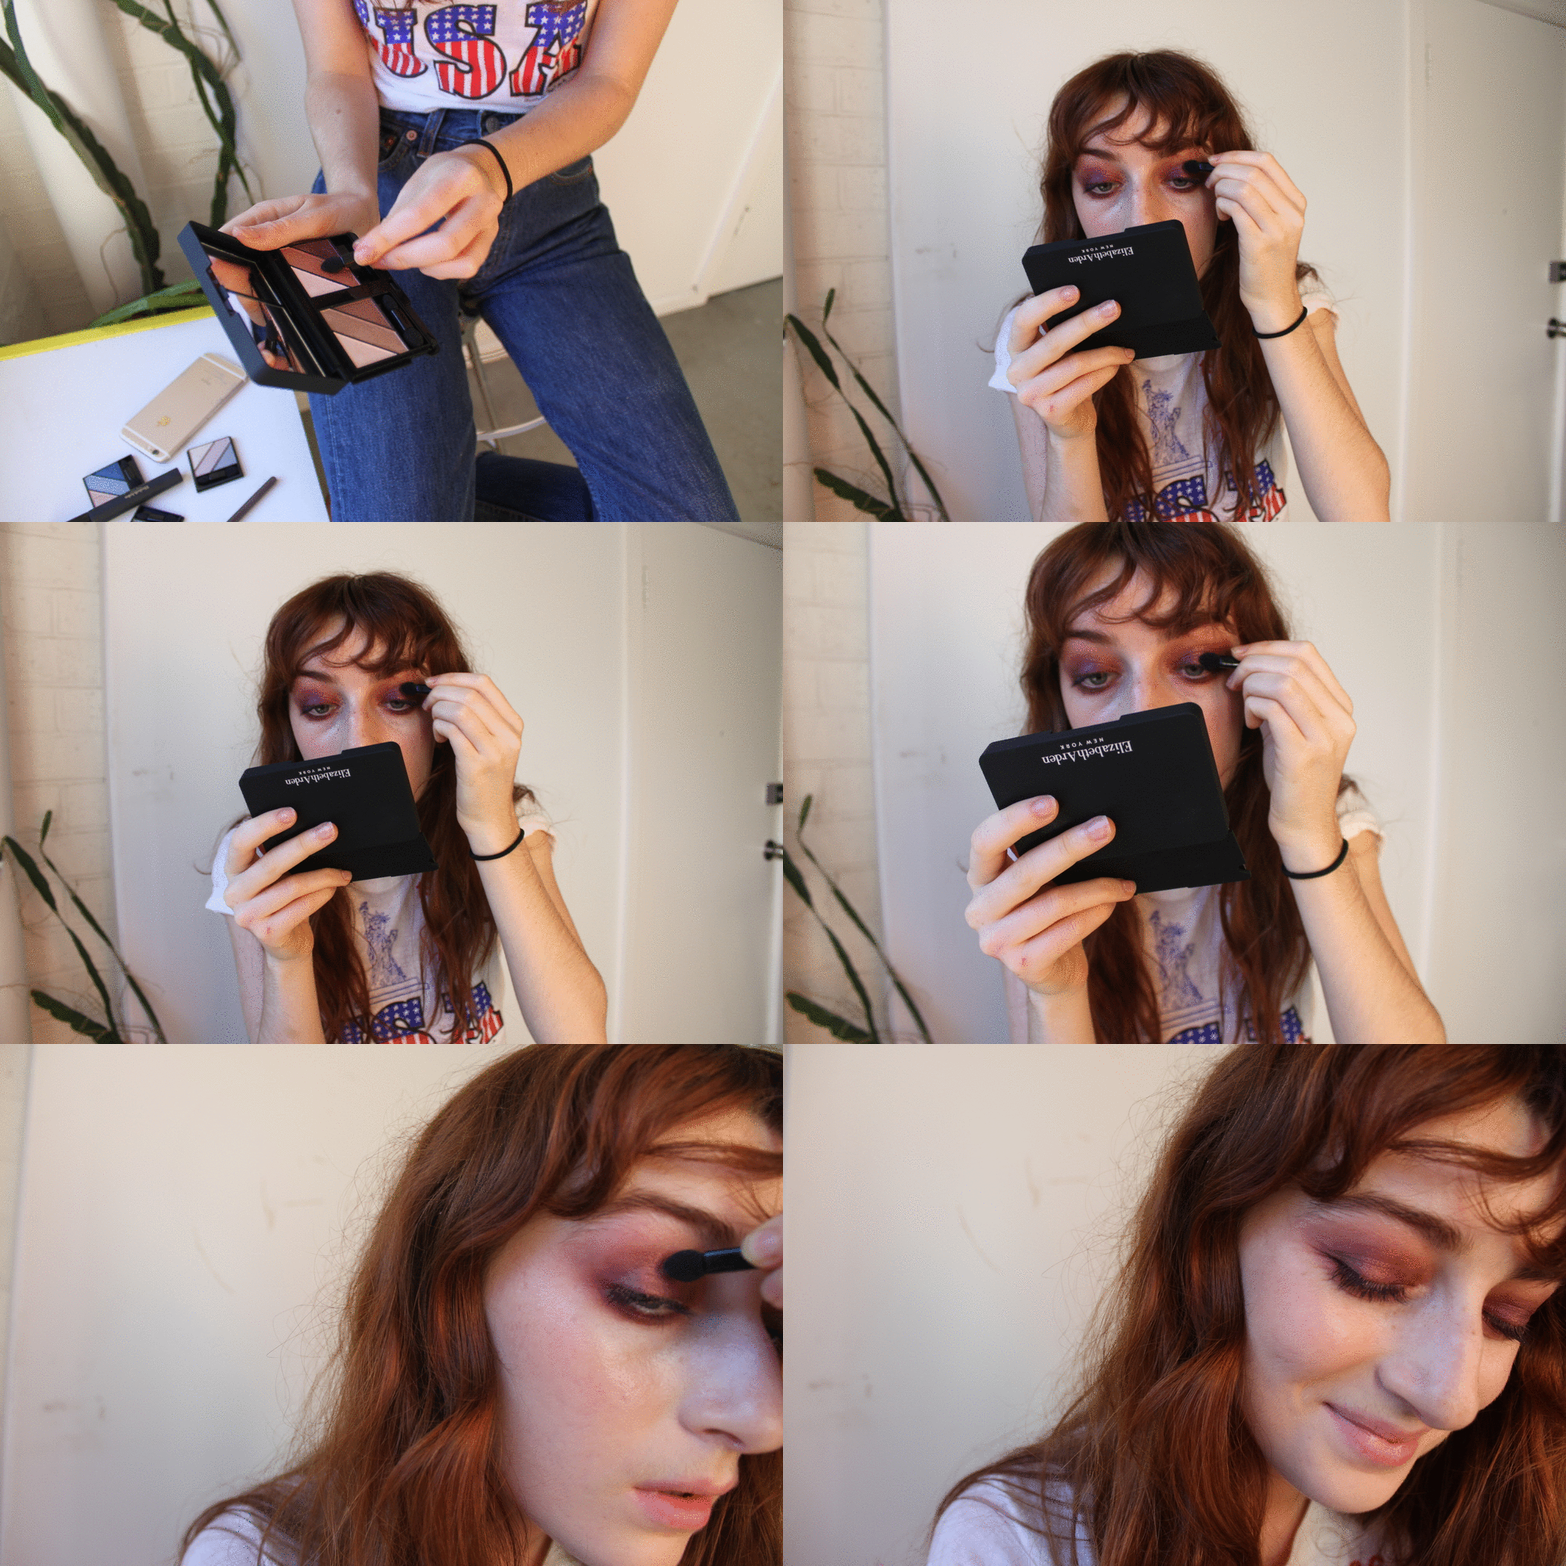
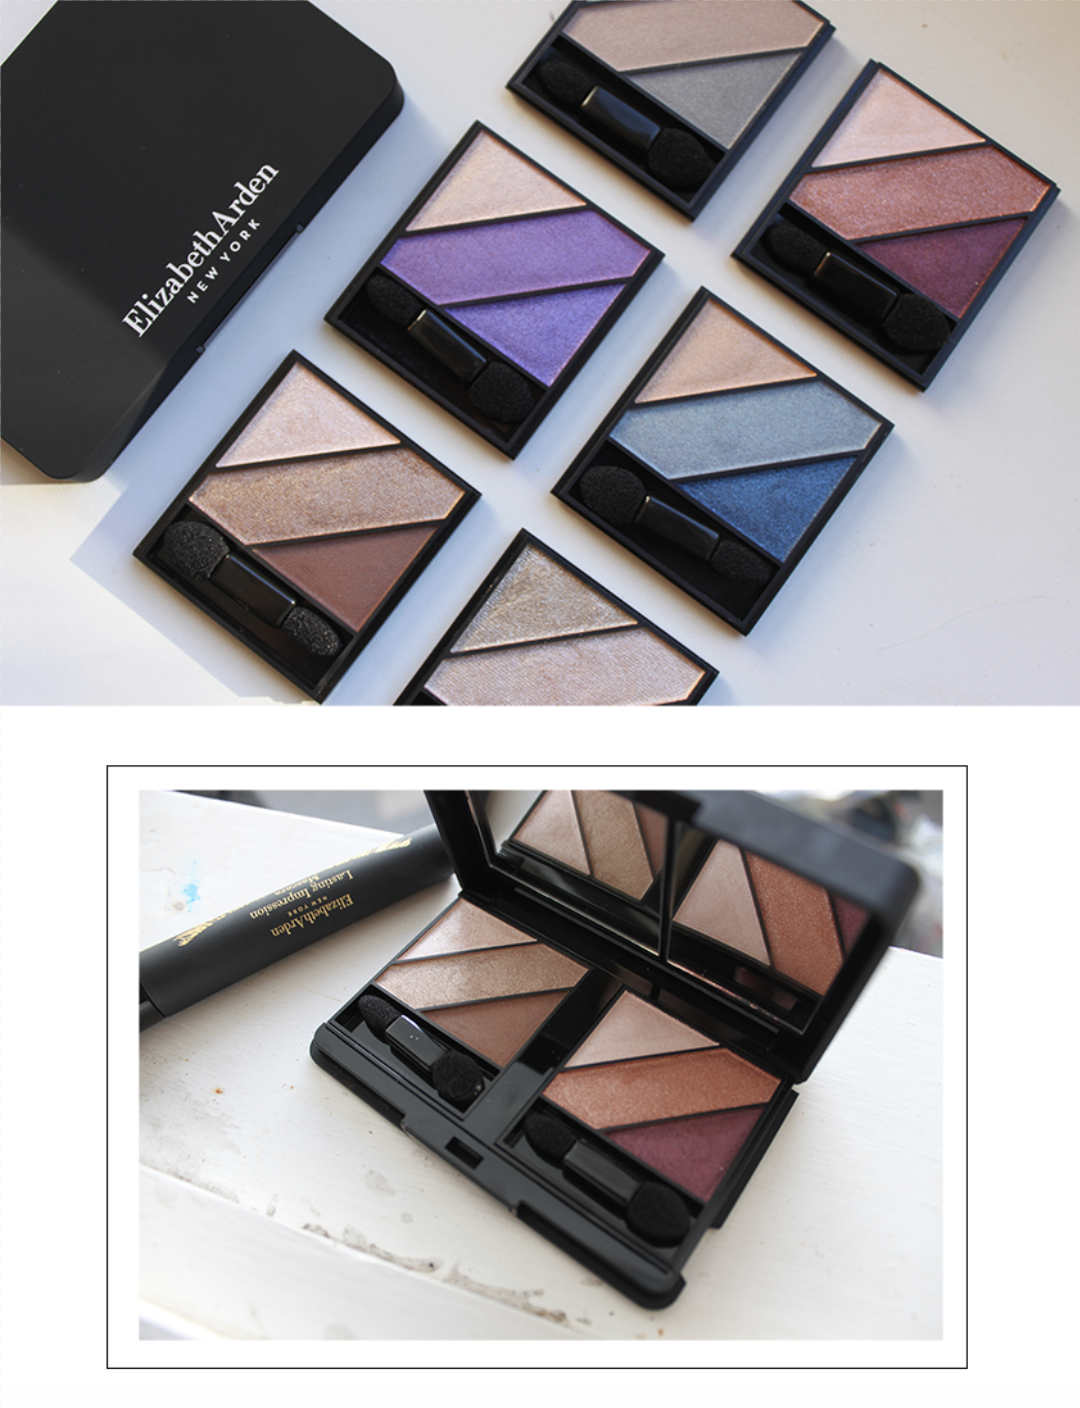
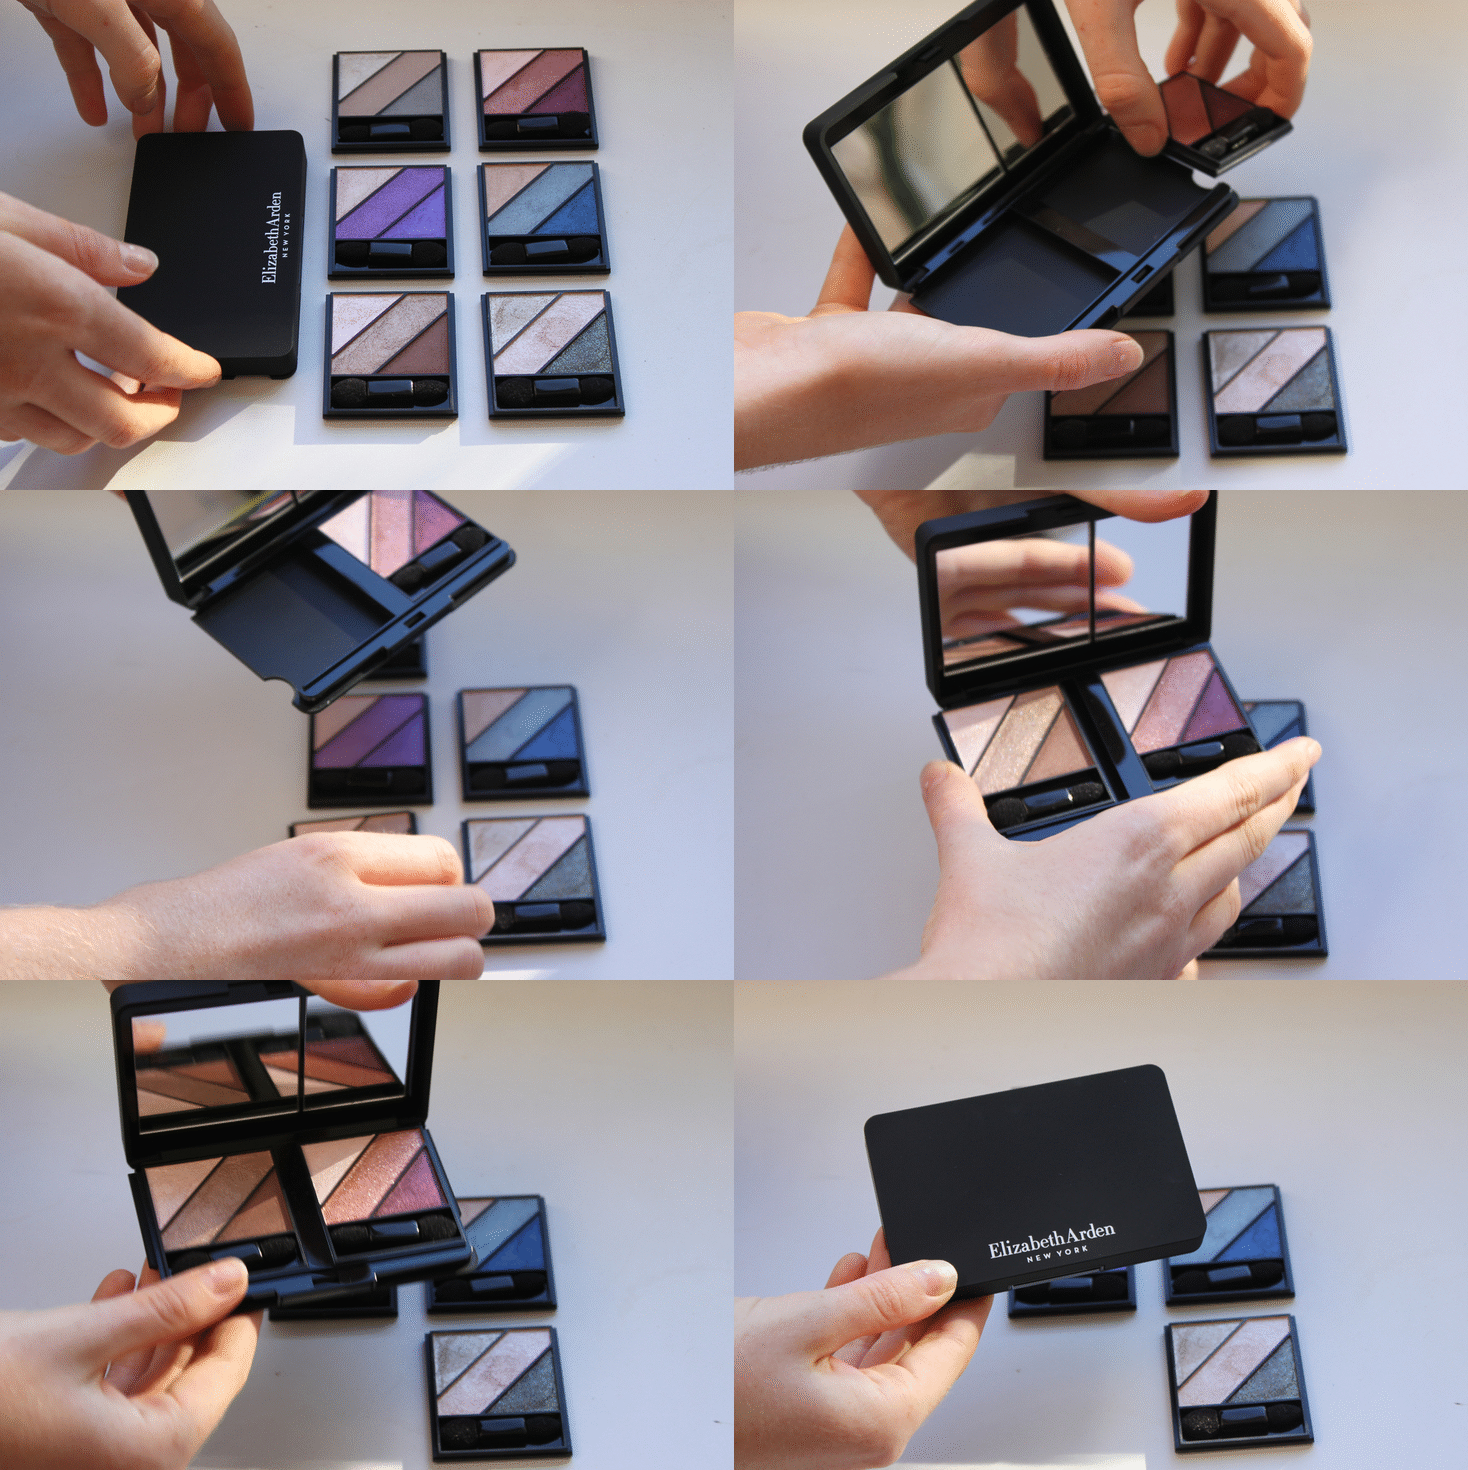
STEP 1: Begin with the darkest shade in the trio, I chose Elizabeth Arden’s You Had Me At Merlot EyeShadow Trio because purple hues work well with blue eyes. Using your clean ring finger, pick up a good amount of the product, and begin packing it onto the centre of the lid, working into the inner and outer corners. Blend the edges with a clean finger in order to avoid spreading the shadow all over the place, unless that is a look you’re going for.
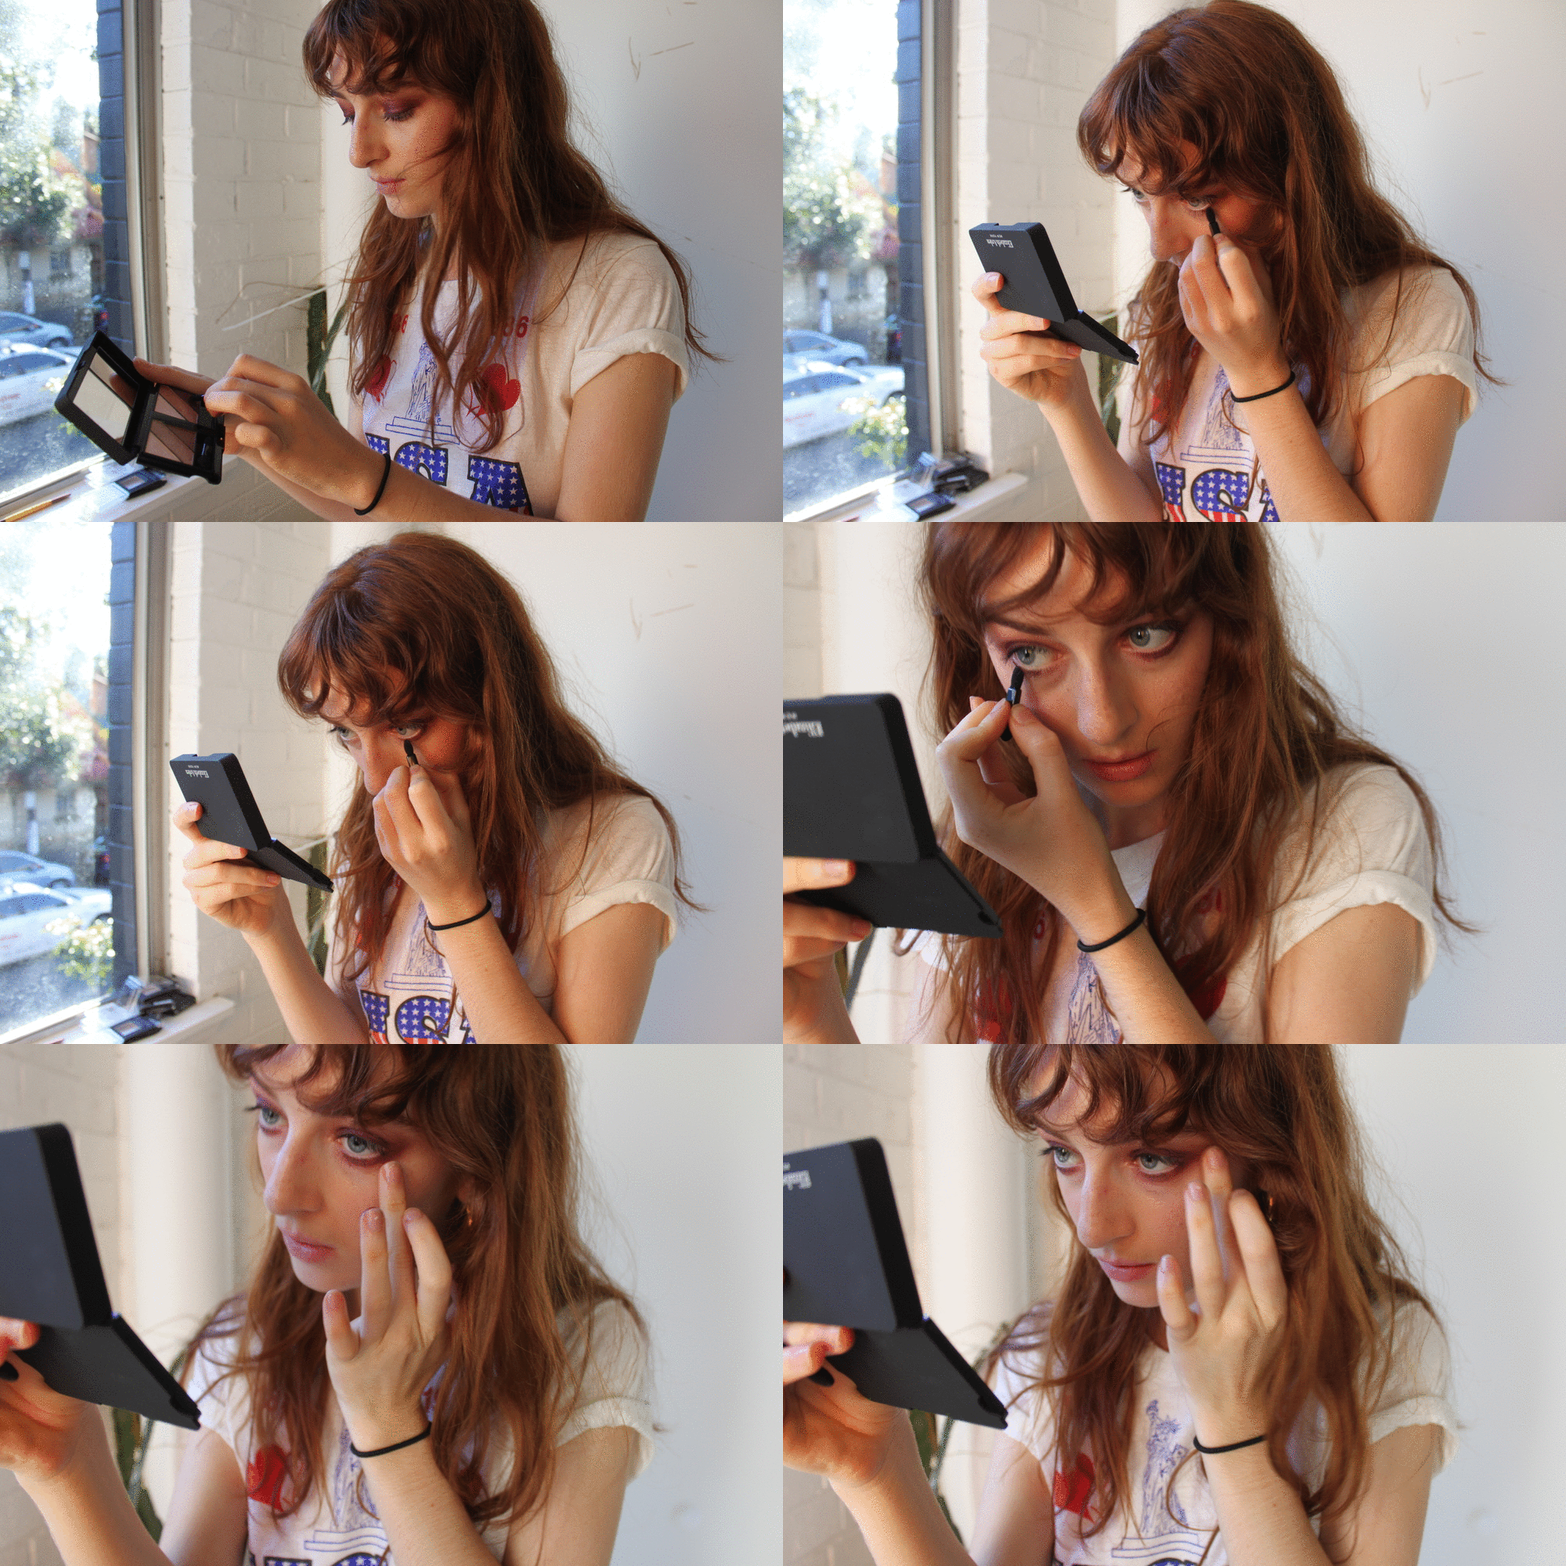
STEP 2: Using the pointy end of the sponge applicator – yes, these can occasionally come in handy – who knew? Pick up the same shade and ‘draw’ along the bottom lash line, dragging down as far as you care and blending up and out with another clean finger to create a soft, elongated effect.
STEP 3: Take the rose gold hue with the fatter end of the applicator, and dab onto the centre of the lid. Basically, this will add dimension to the eye and catch light, giving people the illusion that you totally have this down. The shadow should blend pretty seamlessly on its own, but you always have those trusty fingers to assist if needed.
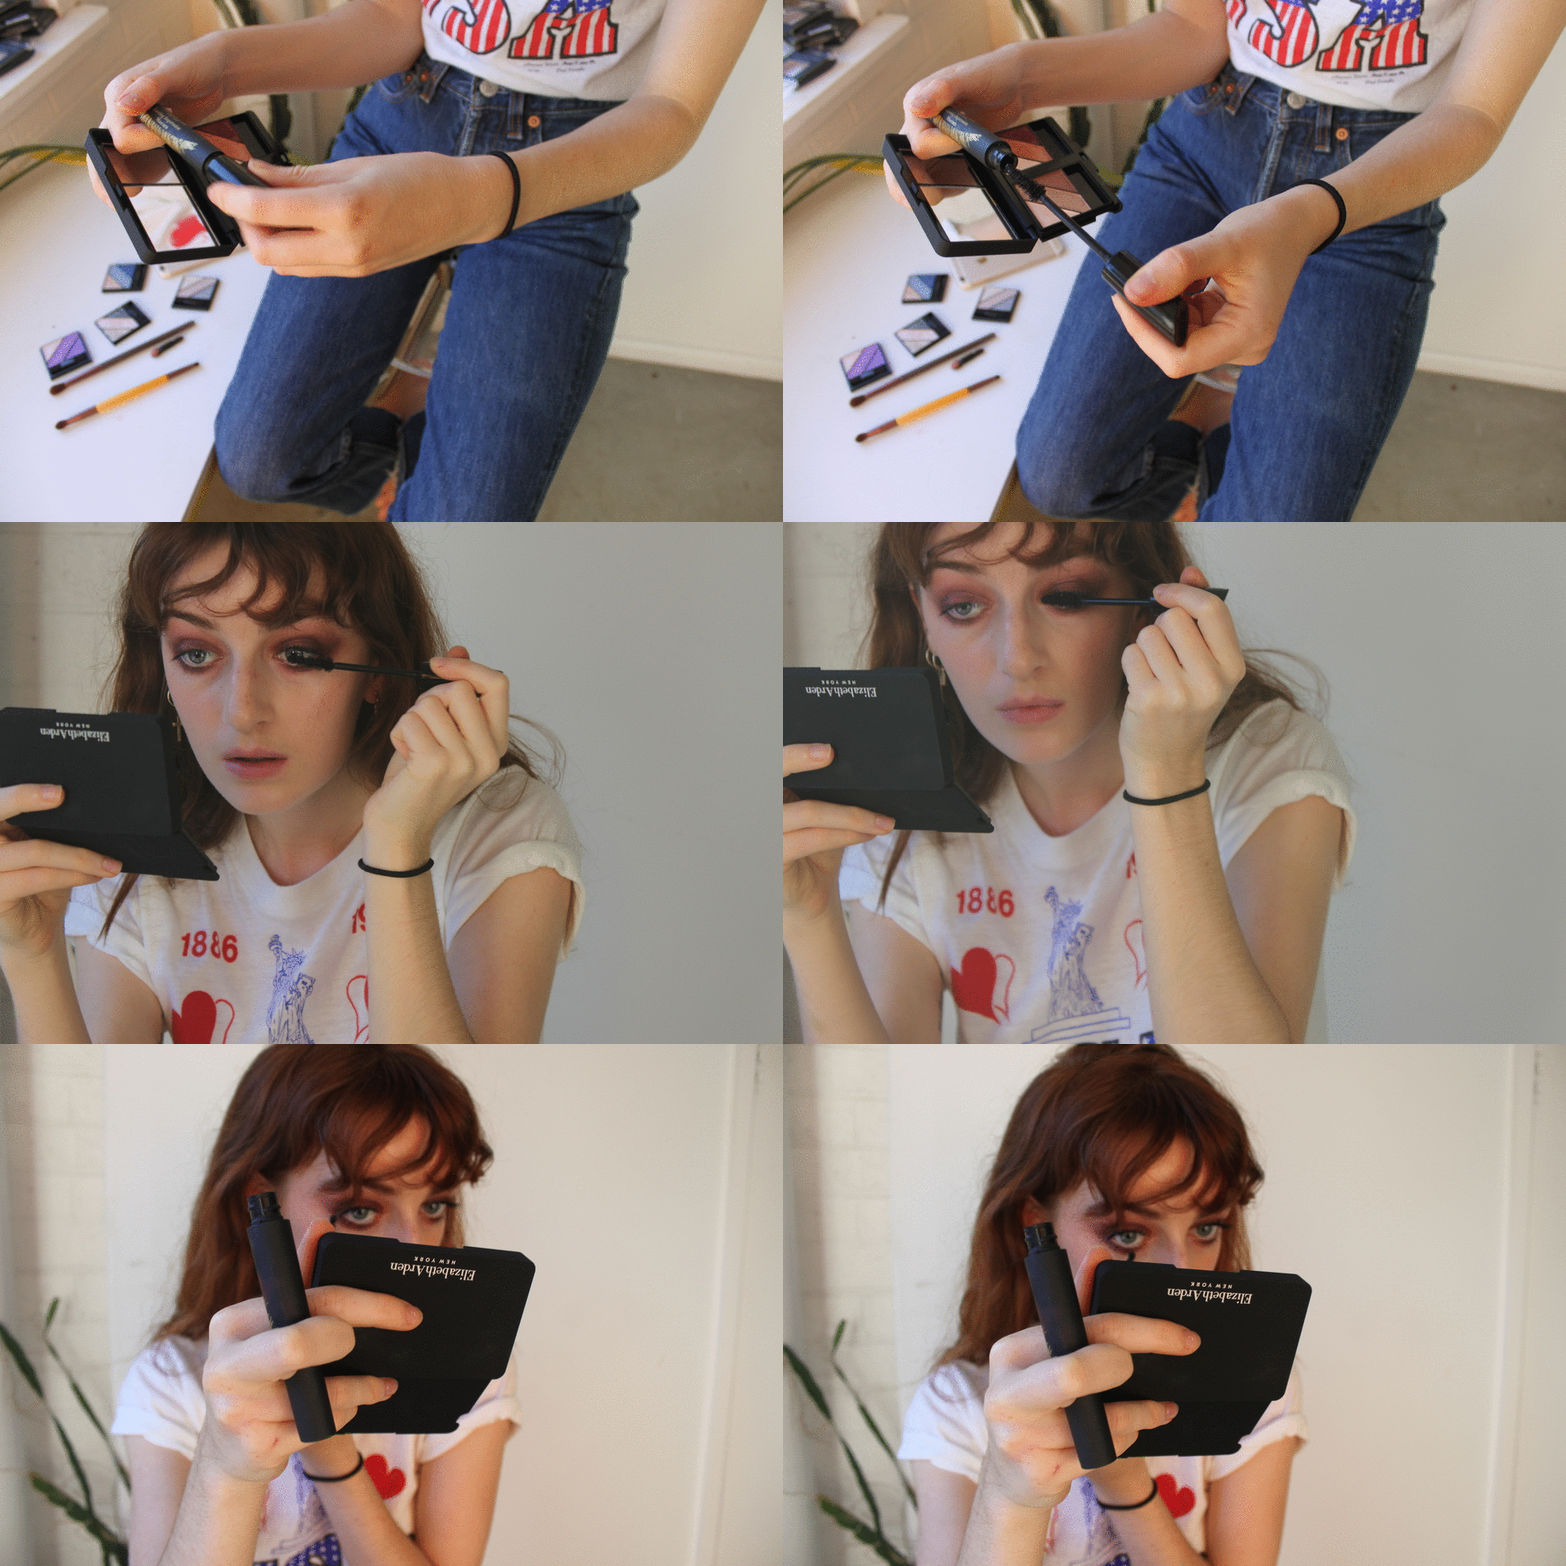
STEP 4: Next, lashings of mascara… Never not a good idea. This will tie everything together, add more definition, and will likely hide any mistakes you made along the way. Don’t forget the bottom lashes, very important stuff.
Full disclosure: This post was created in partnership with Elizabeth Arden.
Words: Ella Jane
Photographs, creative, animation: Chloe Brinklow

