Images should be moving, take a moment (and a breath) while the page loads.
Step 1: You will need 345 products.
Jks.
You actually only need 3! A primer, tinted moisturiser and corrector, plus your hands and/or a brush depending on your preferred method of application.
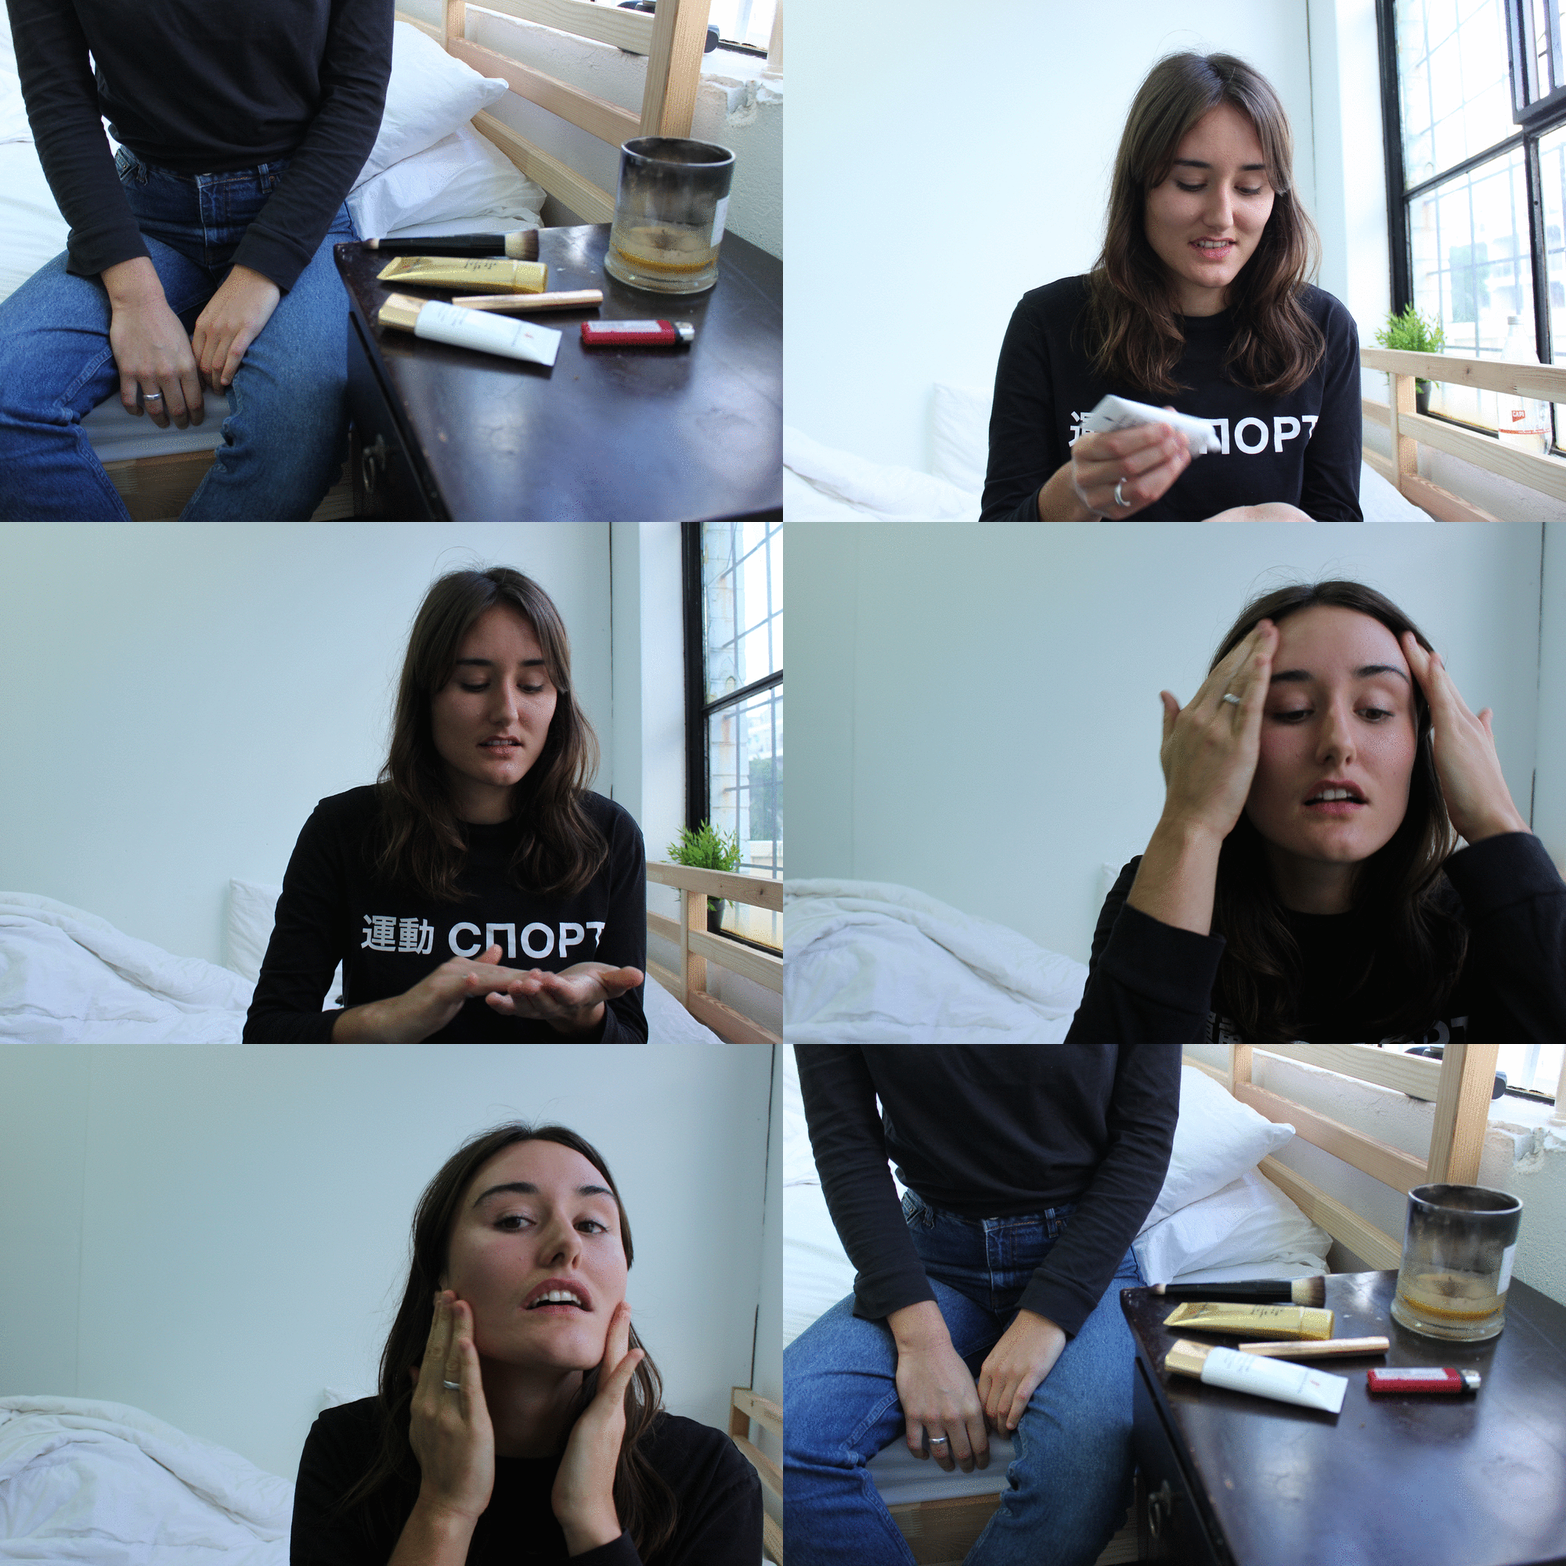
Step 1: Occasionally I wear no makeup – usually I have a spray tan and my skin is behaving – but 99% of the time, I need a little help. And that starts with primer. I’m pretty sure when Benjamin Franklin said, “Failing to prepare is preparing to fail”, he was referring to priming the skin with Elizabeth Arden’s Flawless Start Instant Perfecting Primer.
Most primers claim to extend the wearability of your foundation – and they do – but this one does a little extra. It has a blurring effect, think: facetune in a bottle, and because it creates a barrier between the skin and your choice foundation/bb cream/tinted moisturiser the colour product, doesn’t catch on, or highlight fine lines, pores, blemishes, dryness etc.
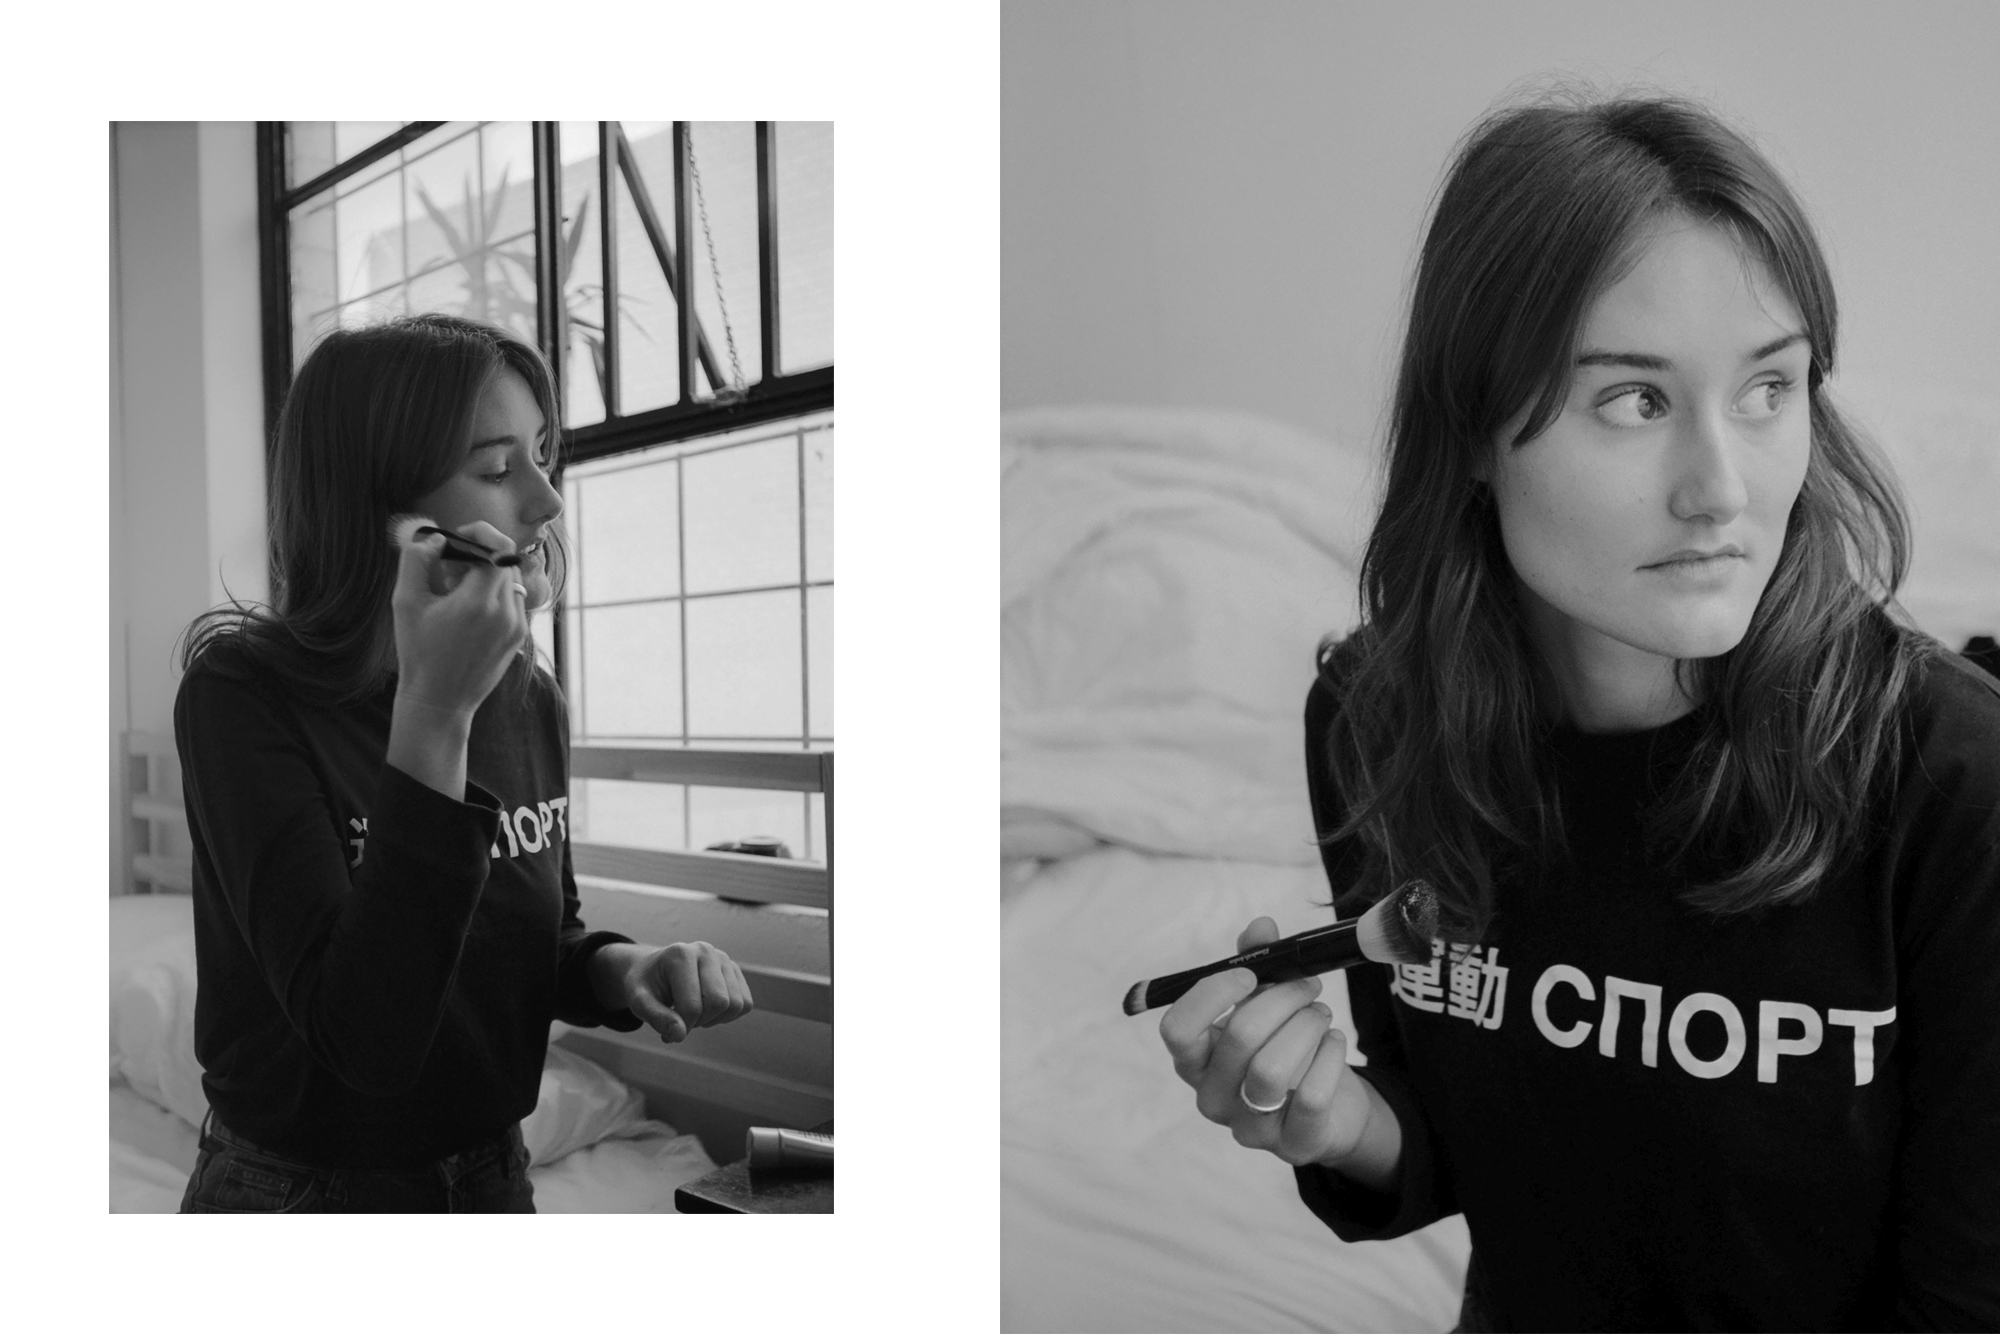
Step 2: No makeup, makeup should be sheer, glowy, and undetectable. Ask any facialist what you should be using, and they’re going to say two things, SPF and mineral. Here, Rosa is using Pure Finish Mineral Tinted Moisturizer which is all of the above. Her skin is pretty bomb, naturally, but we wanted to take away redness and make it glow. Bowie (the kitty!) made a cameo and couldn’t have been less interested… Rude!
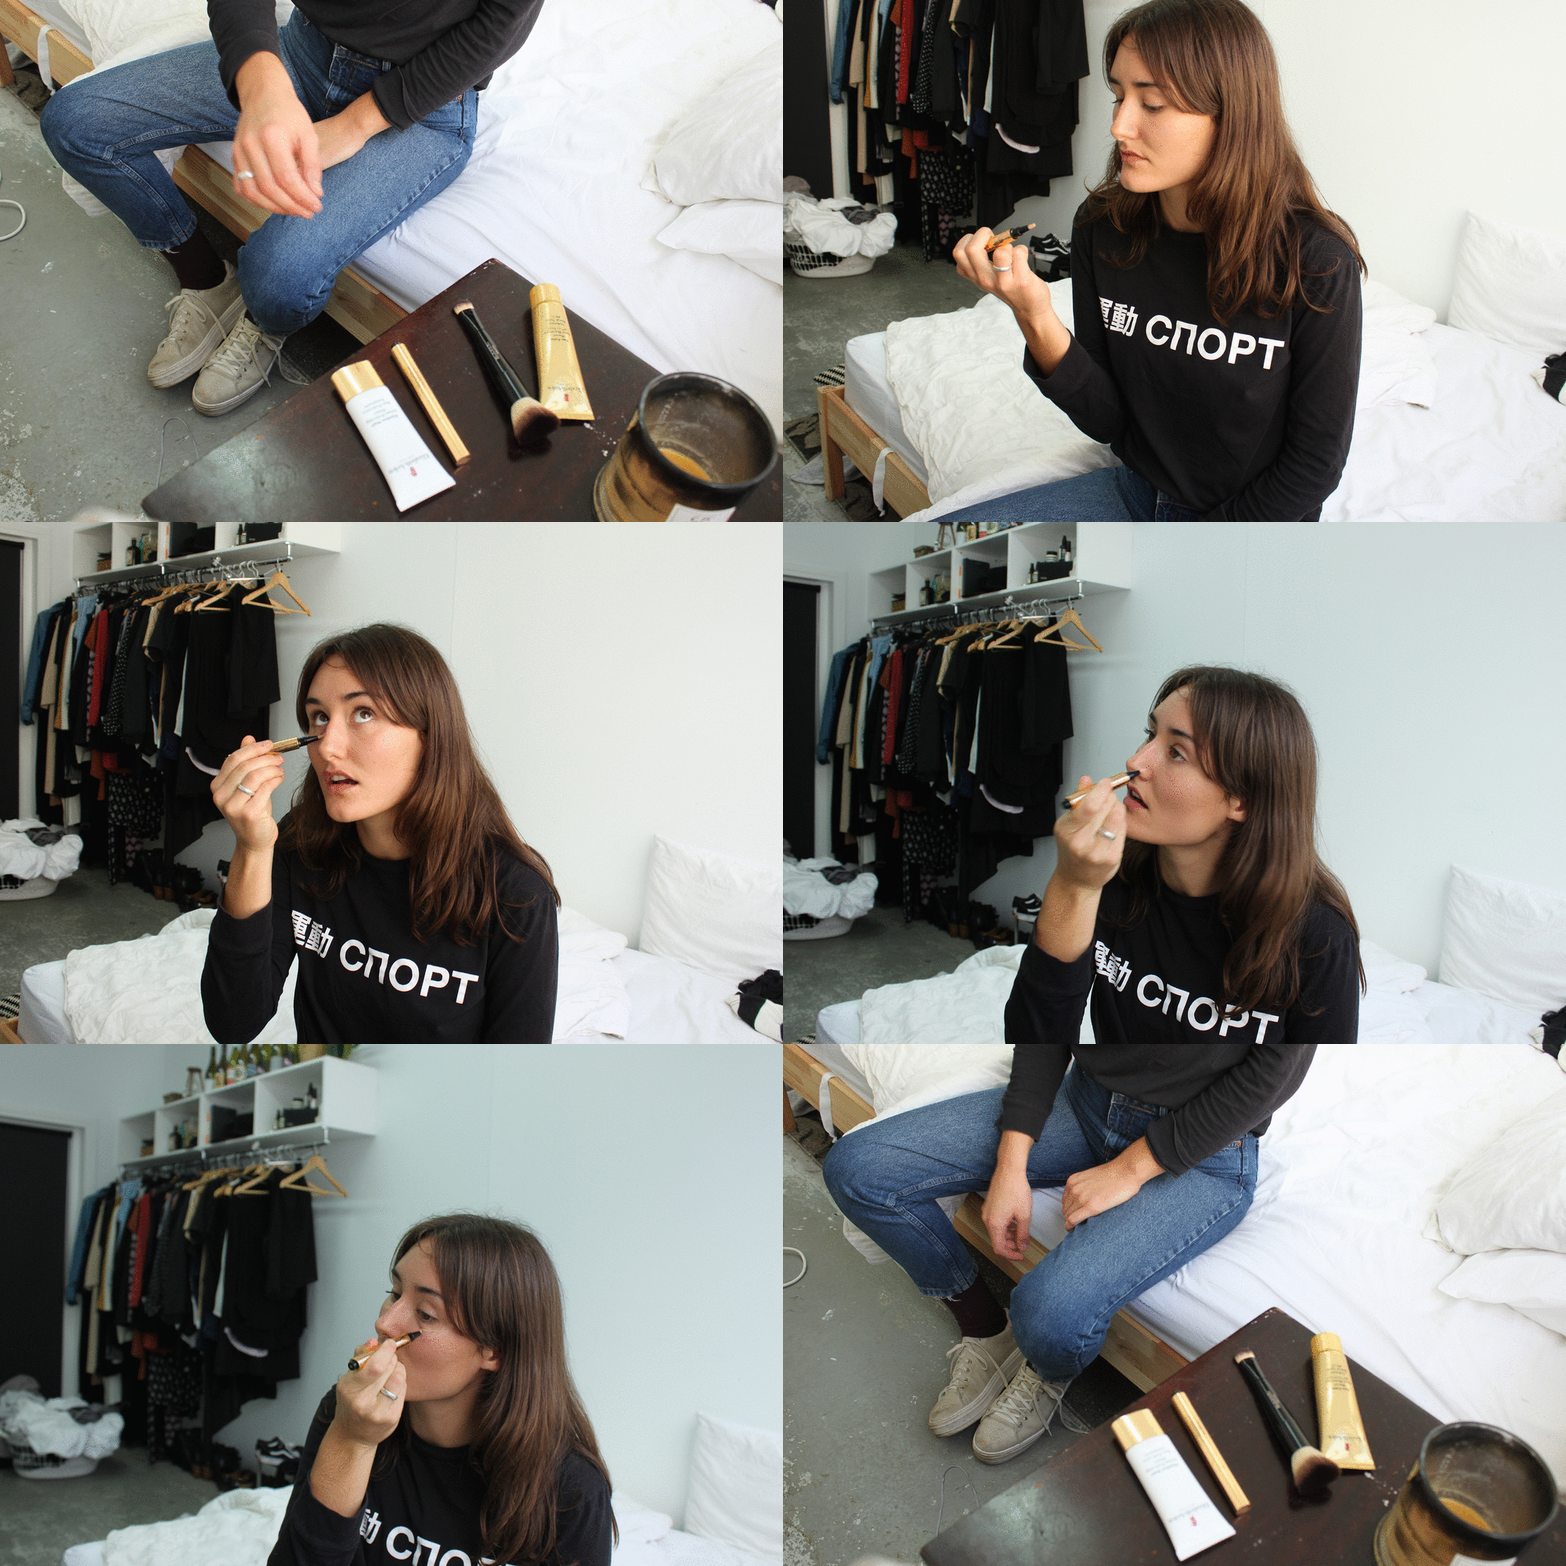
Step 3: A click pen does many things – highlights, corrects, conceals etc. One click goes a long way, two clicks, even further. Trace your dark circles (or anything else that needs a little extra coverage / light reflection) before using your ring finer to pat (not rub) into the skin.
Step 4: Pat, pat, pat, pat… BOWIE!!! pat, pat, pat.
And we done…
Full disclosure: This post was created in partnership with Elizabeth Arden.
Model: Rosa Spring Ross
Photographs: Chloe Brinklow & Ella Jane
Words, creative, animation: Chloe Brinklow

